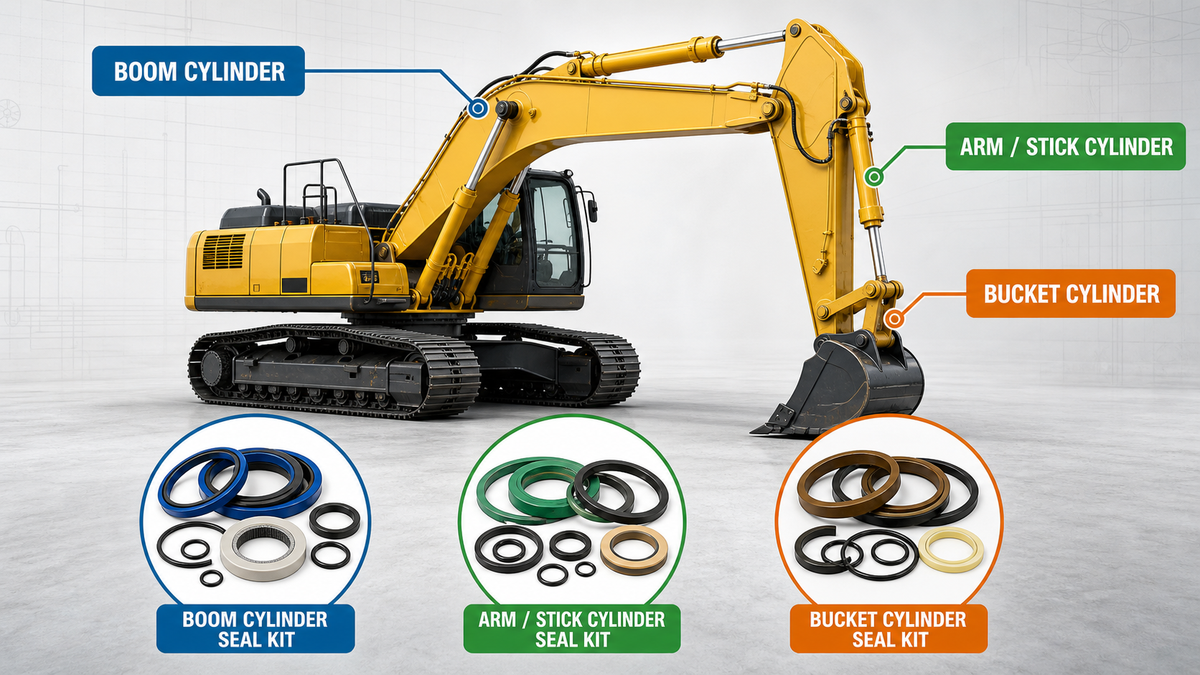

Short answer: Hydraulic cylinder seal failure is commonly caused by contamination, installation damage, worn rod or bore surfaces, excessive heat, pressure spikes, side loading, or an incorrect seal kit. Replacing the seals without correcting the root cause can lead to another leak soon after the repair.
On excavators and other construction equipment, a leaking boom, arm, bucket, blade, steering, or stabilizer cylinder can quickly turn into downtime. The seal kit is important, but so are the condition of the rod, cylinder bore, gland, wear rings, hydraulic oil, and the way the cylinder is operating.
This guide explains seven common causes of hydraulic cylinder seal failure, the symptoms they can produce, and the checks you should make before installing a replacement hydraulic cylinder seal kit.
Quick Diagnosis: What Can a Hydraulic Cylinder Leak Tell You?
| Symptom | Possible Causes | First Checks |
|---|---|---|
| Oil leaking around the rod | Rod seal damage, contaminated oil, scratched rod, worn guide rings | Inspect rod surface, wiper, gland and rod seal |
| Cylinder drifts under load | Piston seal bypass, worn cylinder bore, damaged piston sealing surface | Check internal leakage and piston components |
| New seals leak soon after installation | Installation damage, wrong size/profile, damaged groove, pressure problem | Verify seal orientation, dimensions and hardware condition |
| Seals become hard or brittle | Excessive temperature or incompatible fluid/material | Check operating temperature, oil condition and seal material |
| One side of a seal or wear ring is heavily worn | Misalignment or side loading | Inspect pins, bushings, rod alignment and guide components |
1. Contamination in the Hydraulic System
Dirt, metal particles, water, degraded oil, and other contaminants can damage sealing lips and sliding surfaces. Fine abrasive particles may create small scratches on the rod or bore, while larger debris can cut or deform a seal.
The wiper seal is the first line of defense against external dirt entering around the rod. If the wiper is damaged, hardened, loose, or incorrectly installed, contamination can enter the cylinder every time the rod retracts.
What to check
- Hydraulic oil cleanliness and condition
- Filter condition and maintenance history
- Wiper seal condition
- Rod surface for scoring or embedded particles
- Debris inside the gland, piston grooves, or cylinder tube
Prevention: Clean the cylinder and work area before disassembly, protect open hydraulic lines, use clean assembly tools, and correct the source of contamination before installing new seals.
2. Seal Damage During Installation
A correct seal can still fail if it is damaged during assembly. Sharp groove edges, threads, ports, retaining-ring grooves, and improper tools can cut a sealing lip before the cylinder is even put back into service.
Some seals also have a required installation direction. A rod seal, piston seal, wiper, O-ring, backup ring, or buffer seal installed incorrectly may not control pressure as designed.
Common installation mistakes
- Twisting or overstretching a seal
- Forcing a seal across a sharp edge without protection
- Installing a seal backwards
- Using a metal tool that scratches the seal or groove
- Assembling seals dry when lubrication is required
- Mixing components from different seal kit positions
Prevention: Identify every component before assembly, compare new and removed seals carefully, protect sharp edges, use suitable installation tools, and follow the correct seal orientation.
3. A Scratched, Pitted, Bent, or Corroded Rod
The rod seal runs directly against the piston rod. Even a high-quality new rod seal cannot compensate for a severely scratched, pitted, corroded, or bent rod. Surface damage can cut the sealing lip or create a path for oil to escape.
A damaged rod may also destroy the wiper and guide components, increasing contamination and uneven loading.
What to check
- Longitudinal scratches or scoring
- Rust, pitting, or damaged chrome
- Dents caused by impact
- Bending or runout
- Abnormal wear concentrated on one side
Prevention: Repair or replace damaged hardware before resealing the cylinder. Installing a new seal kit on an unusable rod often treats the symptom rather than the cause.
4. Excessive Heat
Hydraulic seals are designed to work within specific temperature ranges. Excess heat can harden, soften, shrink, swell, or permanently deform certain seal materials. High oil temperature can also reduce fluid viscosity, making leakage more noticeable.
Heat may come from continuous heavy operation, restricted flow, internal leakage, a cooling-system problem, or another hydraulic fault. The important point is to investigate why the cylinder is running hot instead of assuming the seal kit alone is responsible.
Prevention: Check system temperature, oil condition, cooling performance, and the seal material specification when high-temperature operation is involved.
5. Pressure Spikes or Operation Beyond the Intended Load
A hydraulic cylinder may experience short pressure spikes even when normal system pressure appears acceptable. Severe pressure loading can extrude seals into clearances, damage backup rings, deform sealing lips, or accelerate wear.
If a removed seal shows extrusion, nibbling, or unusual deformation, inspect the pressure-control system as well as the cylinder components.
What to check
- Relief valve operation
- Unexpected shock loads
- Blocked or restricted lines
- Correct backup rings and support components
- Excessive clearances caused by wear
Prevention: Correct pressure-control problems and worn hardware before installing replacement seals.
6. Misalignment and Side Loading
Hydraulic seals are intended to seal; they are not intended to compensate for major mechanical misalignment. Worn pins, bushings, bearings, guide rings, or mounting points can force the rod or piston sideways.
Side loading often creates uneven wear on the rod, gland, wear rings, piston seals, and cylinder bore. If only one area of a wear ring is badly worn, this can be an important clue.
Prevention: Inspect mounting points, pins, bushings, rod straightness, guide rings, and alignment before returning the cylinder to service.
7. The Wrong Seal Kit, Seal Size, Profile, or Material
Two cylinders can look almost identical while using different seal dimensions or profiles. Machine model alone is not always enough to identify the correct excavator seal kit. Production changes, different cylinder manufacturers, different cylinder positions, and previous repairs can all affect the components inside the cylinder.
Using an incorrect rod seal, piston seal, O-ring, backup ring, wear ring, or wiper may create leakage, excessive friction, poor fit, or premature failure.
Best information for identifying a replacement seal kit
- Machine brand and model
- Cylinder position: boom, arm, bucket, blade, steering, stabilizer, etc.
- OEM or seal kit part number
- Cylinder assembly number when available
- Photos of the cylinder and removed seals
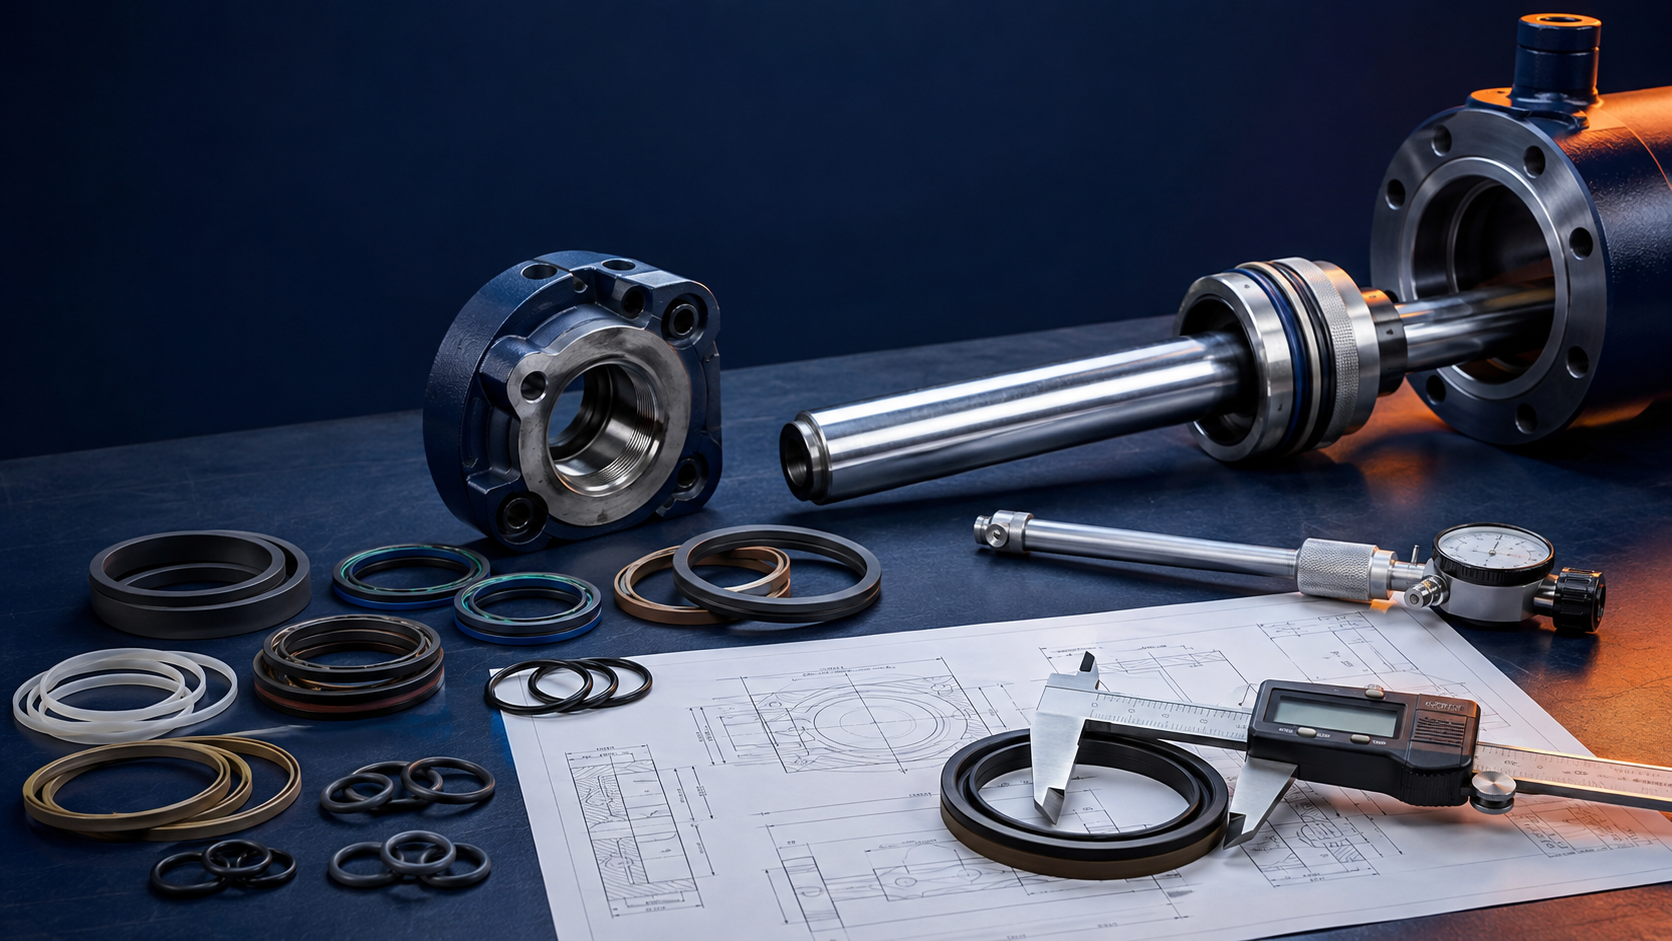
- Rod diameter, bore diameter, and relevant groove/seal dimensions
For a detailed identification process, see our guide: How to Identify the Correct Excavator Seal Kit.
If the kit number is unknown, use our measurement guide: How to Measure a Hydraulic Cylinder Seal Kit.
Before Installing a New Hydraulic Cylinder Seal Kit
A good reseal starts with inspection, not just replacement. Before assembling the cylinder, check the following:
- Rod: no severe scratches, corrosion, pitting, or bending
- Cylinder bore: no deep scoring or abnormal wear
- Gland and piston: grooves are clean and undamaged
- Wear rings/guides: not excessively worn or broken
- Hydraulic oil: clean and suitable for the system
- Seal kit: dimensions, profiles, materials, and positions are correct
- System: no unresolved overheating, contamination, alignment, or pressure problem
Frequently Asked Questions
Why does a hydraulic cylinder still leak after installing new seals?
The new seal may have been damaged during installation, installed in the wrong direction, or selected in the wrong size or profile. The rod, bore, gland, or piston may also be worn or damaged. Contamination, excessive pressure, heat, and misalignment can cause a newly resealed cylinder to leak again.
How do I know whether the rod seal or piston seal is failing?
Visible oil around the rod area often points to the rod-sealing system, although rod surface damage and guide wear should also be checked. Internal cylinder drift or loss of holding force can be associated with piston-seal bypass, but hydraulic valves and other system components can produce similar symptoms. Diagnosis should consider the complete circuit.
Can I replace only the leaking seal instead of the complete seal kit?
It depends on the cylinder condition and repair objective. When a cylinder is already disassembled, technicians often inspect all wear and sealing components and replace the components that are no longer serviceable. A complete, correctly matched seal kit can simplify this process, but damaged metal parts or hydraulic-system faults still need separate repair.
What information should I send when I need an excavator cylinder seal kit?
Send the machine brand and model, cylinder position, OEM or kit number if available, and clear photos. If the number cannot be confirmed, provide rod, bore, groove, and seal measurements. More complete information reduces the risk of choosing the wrong kit.
Need Help Identifying the Correct Seal Kit?
When requesting a hydraulic cylinder seal kit, send us the machine model, cylinder position, OEM/kit number, photos, or measurements. The Fujis Seal Technical Team can use this information to help verify the replacement kit before ordering.
Correct seal selection is only one part of a reliable repair. Finding and correcting the reason the original seals failed is what helps prevent the same leak from returning.